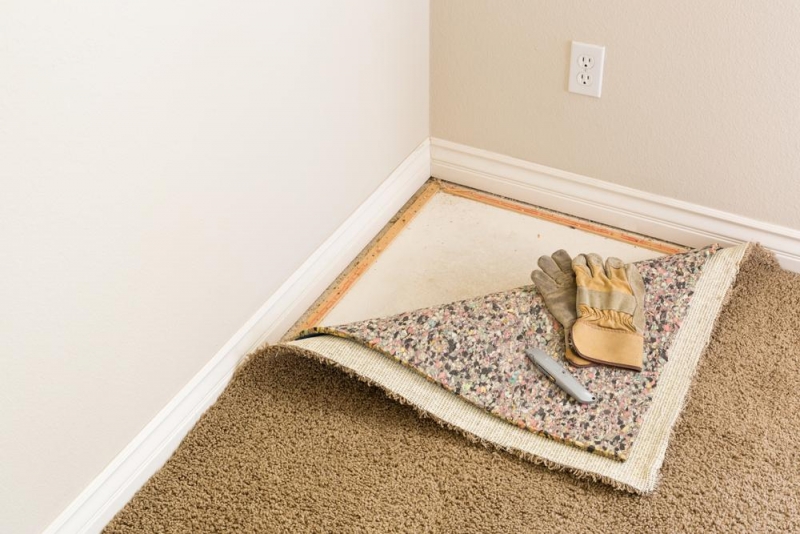
Carpet Installation
Carpet installation is an excellent way to bring comfort and style into your home or office. With countless textures, colors, and patterns available, carpet flooring can suit any design aesthetic while providing warmth and sound absorption. This guide covers the entire carpet installation process to help you understand what to expect and how to achieve the best results.
Preparation
Measuring and Planning
Before installation begins, measure the area carefully to determine the amount of carpet and padding needed. Consider patterns or seams when calculating to avoid mismatches.
Preparing the Subfloor
A clean, dry, and level subfloor is essential for a successful installation. Remove old flooring and repair any damage to ensure a smooth base. Thoroughly vacuum or sweep to remove debris.
Acquiring Tools and Materials
You'll need the following tools and materials:
- Carpet
- Carpet padding
- Tack strips
- Carpet knife
- Knee kicker
- Power stretcher
- Seam tape and iron
- Hammer and nails
- Measuring tape
Installation Steps
1. Install Tack Strips
Tack strips are placed along the edges of the room, leaving a small gap between the strip and the wall to tuck the carpet later. Ensure the sharp pins face the wall.
2. Lay Carpet Padding
Carpet padding provides cushioning and extends the carpet's life. Roll out the padding and staple or tape it securely to the subfloor. Trim excess padding along the tack strips.
3. Cut and Position the Carpet
Cut the carpet slightly larger than the room's dimensions to allow for adjustments. Roll it out and position it over the padding, aligning seams if necessary.
4. Seam the Carpet
If multiple pieces are required, use seam tape and a seaming iron to join them. Press the edges together tightly to create an invisible seam.
5. Stretch the Carpet
Use a knee kicker to position the carpet near the walls. A power stretcher ensures the carpet is taut and free of wrinkles. Hook the edges onto the tack strips.
6. Trim and Tuck Edges
Trim the excess carpet along the walls using a carpet knife. Tuck the edges into the gap between the tack strip and the wall for a clean finish.
7. Final Touches
Vacuum the carpet to remove loose fibers and inspect for any imperfections. Replace furniture carefully to avoid damaging the new flooring.
Post-Installation Tips
- Avoid heavy foot traffic for at least 24 hours to allow the carpet to settle.
- Keep the room well-ventilated to dissipate any new carpet odors.
- Schedule regular cleaning to maintain its appearance and longevity.
Benefits of Professional Installation
While DIY installation is possible, hiring professionals ensures precision and saves time. Professionals have the experience and tools to handle complex layouts, seams, and staircases, resulting in a flawless finish.
Final Thoughts
Carpet installation is a straightforward process that significantly enhances the aesthetic and comfort of any space. With proper preparation and attention to detail, your carpet will serve as a stylish and functional foundation for years to come.
Frequently Asked Questions (FAQ) Tile Install?
The time varies depending on the room size and layout, but most installations are completed within 1-2 days.
DIY installation is possible but requires specific tools and skills. Hiring a professional is recommended for the best results.
Remove old flooring, repair the subfloor, and clear the room of furniture and obstacles.
Carpet padding provides cushioning and extends the life of the carpet. It’s highly recommended.
In some cases, carpet can be installed over existing floors, but a clean and level subfloor is ideal.
Yes, clearing the space ensures a smooth and efficient installation process.
Avoid heavy foot traffic for at least 24 hours to allow the carpet to settle.
Carpet adds warmth, reduces noise, and provides a soft surface underfoot, enhancing comfort and style.


